A Complete Guide on How to Apply for a Student Visa
A student visa is a crucial document for anyone wishing to study abroad. Whether you are pursuing higher education in the United States, Canada, the UK, Australia, or any other country, you need to obtain the appropriate visa to enter the country and legally enrol in a course or program. Understanding how to apply for a student visa is key to ensuring that your study abroad experience goes smoothly.
The process may seem complex, but with the right information and guidance, you can navigate it successfully. In this article, we will walk you through the necessary steps, from gathering documents to preparing for your visa interview.
Types of Student Visas
Before diving into the student visa application process, it is important to know that visa types vary depending on the country where you plan to study. Here are some examples of common student visas for popular study destinations:
- F-1 Visa (USA): For academic students pursuing a degree or participating in a language program.
- Tier 4 General Student Visa (UK): For students enrolled in a full-time degree program in the UK.
- Study Permit (Canada): A study permit is required for students attending a designated learning institution in Canada.
- Student Visa (Australia): For students studying full-time at an Australian educational institution.
Each visa type has specific requirements, so be sure to check the country-specific regulations when applying.
Step-by-Step Guide to Applying for a Student Visa
Follow these steps to apply for your student visa effectively:
- Get Accepted into an Educational Institution
The first step in the student visa application process is securing admission to a recognized educational institution in the country where you plan to study. Most countries require you to have a letter of acceptance from the institution before you can apply for a visa. This document is often referred to as the admission letter, and it confirms your enrollment in a program.
Ensure the school or university is accredited and recognized by the immigration authorities of the destination country.
- Gather Your Documents
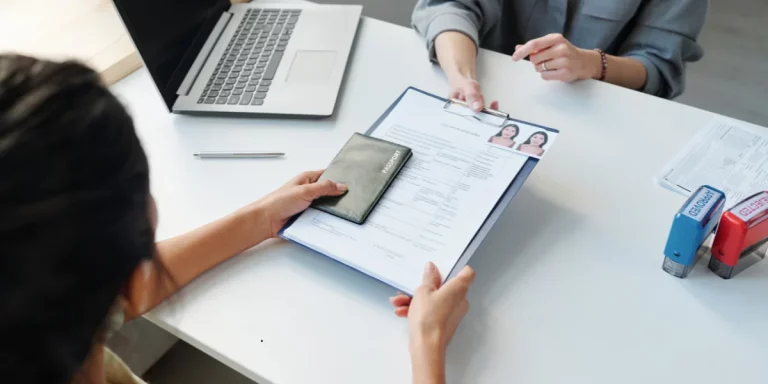
The next step is to prepare all the necessary documents for your visa application. While the exact requirements will vary by country, here is a list of common documents you’ll likely need:
- Valid Passport: Your passport should be valid for the duration of your stay.
- Visa Application Form: Complete the visa application form (e.g., DS-160 for the USA or the Canadian Study Permit application).
- Letter of Acceptance: This is the official document from your school confirming your enrollment.
- Proof of Financial Support: You must show that you have sufficient funds to cover tuition, living expenses, and travel costs.
- Medical Examination Results: In some countries, you will need to undergo a medical examination to prove that you are in good health.
- Proof of English Language Proficiency: Most countries require proof of English proficiency, such as IELTS or TOEFL scores.
- Passport-Sized Photographs: Follow the photo specifications provided by the visa office.
- Submit Your Visa Application
Once you have all your documents in order, you are ready to submit your student visa application. Depending on the country, this can often be done online through the official government immigration website. Some countries may still require paper applications that are mailed or submitted in person at an embassy or consulate.
Make sure to pay attention to the visa application fees and processing times. Visa fees vary by country and must be paid when submitting your application. You should also factor in the processing time, which can range from a few weeks to several months.
- Pay the Visa Application Fee
Most countries charge a fee to process visa applications. For example, the USA charges approximately USD $160 for an F-1 visa, while the Canadian study permit costs CAD $150. It is important to pay this fee to move forward with the application process. You will usually receive a confirmation receipt, which should be saved for your records and possibly presented during the visa interview.
- Schedule a Visa Interview (if required)
Many countries, including the USA, require a visa interview before granting a student visa. Once your application has been submitted, you may need to schedule an appointment at your nearest embassy or consulate for an interview. The waiting time for interviews varies depending on your location, so it’s advisable to schedule it as soon as possible.
During the interview, be prepared to answer questions about your study plans, financial situation, and reasons for choosing the country and school. Honesty and clarity in your answers are key to a successful interview.
- Attend Your Visa Interview
If your country of study requires a student visa interview, this is a critical step in the application process. Here are a few tips to help you prepare for the interview:
- Dress Appropriately: Dress in professional attire to make a good impression.
- Be Honest: Answer all questions truthfully, especially when it comes to your study plans and financial support.
- Practice Common Questions: Be prepared to answer questions about your reasons for studying abroad, your career goals, and how you will support yourself financially.
Common questions during a student visa interview may include:
- Why did you choose this specific country and institution?
- How will this program help your future career?
- Do you have sufficient financial resources to support yourself during your stay?
- What are your plans after completing your studies?
- Receive Your Visa Decision
After completing the interview (if required), the immigration office will begin processing your application. Visa processing times vary by country, but you should receive a decision within several weeks or months, depending on the workload of the visa office.
If approved, you will be issued your student visa or study permit, allowing you to travel and start your educational journey.
- Prepare for Your Departure
Once your student visa is approved, it’s time to prepare for your departure. Ensure that you have everything in order before leaving for your study destination. This includes booking your flight, finding accommodation, and ensuring you have sufficient finances to support yourself during your studies.
Make sure to carry your visa, passport, and a copy of your acceptance letter when traveling. Upon arrival in the country, you may need to present these documents to customs or immigration officials.
Common Mistakes to Avoid When Applying for a Student Visa
Here are some common pitfalls to avoid when applying for a student visa:
- Incomplete Application: Double-check that you have filled out all the necessary forms and provided the correct documentation.
- Insufficient Financial Proof: Ensure that your financial documents clearly show you can cover your tuition and living expenses.
- Late Application: Start your visa process early, as it may take time to collect the necessary documents and complete the application.
- Unclear Study Intentions: Be clear about your study plans and how they align with your long-term career goals.
Reyna Overseas: Your Trusted Study Visa Partner
At Reyna Overseas, we are proud to be one of the leading study abroad consultants in Ahmedabad. With two branches, a head office, and over 50 staff members, we offer comprehensive services, including study abroad counselling, career counselling, study visa processing, and IELTS/PTE coaching, both online and offline. Our more than a decade of experience in guiding students through the study visa process ensures you receive the support you need for a successful application.
Contact Reyna Overseas Today
Ready to start your study abroad journey? Let Reyna Overseas guide you through the entire student visa application process. Contact us today to learn how we can help you achieve your academic goals abroad!


